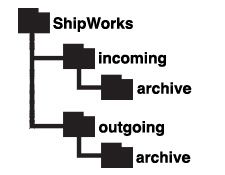
SalesWarp integrates with ShipWorks, a desktop application that makes it easier to ship orders from your online stores. SalesWarp sends order files to ShipWorks and receives tracking numbers from ShipWorks via FTP. Before setting up these connections, modify your FTP folder to match this specific structure:
Order File Mapping
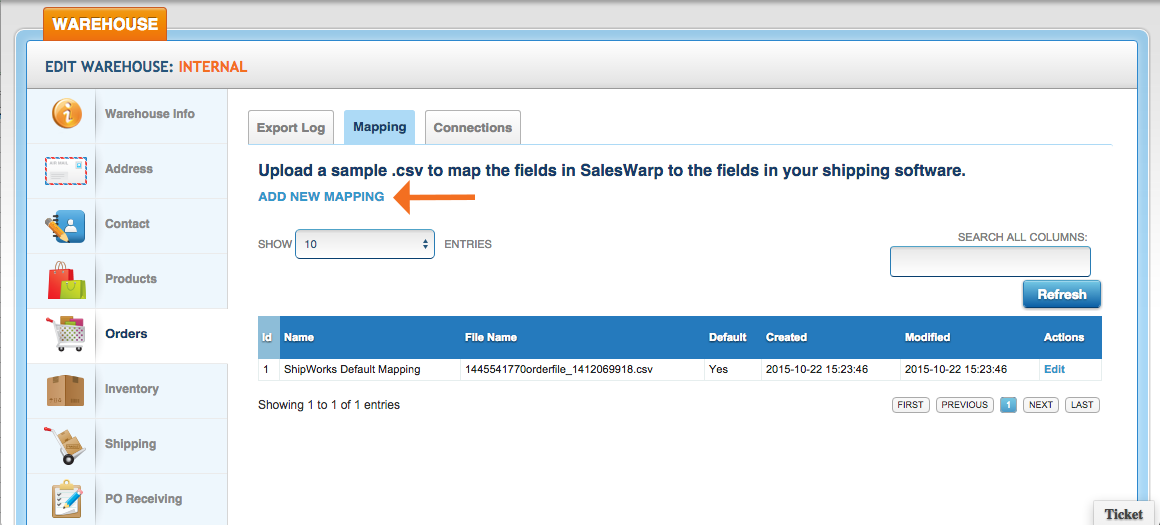
To set up ShipWorks in SalesWarp, open the Warehouse from which you want to ship. Go to Warehouses and click Edit, then open the Orders tab. Here you will map the order fields in SalesWarp to fields in ShipWorks, and set up the connection to your FTP server where the order files will be sent.
To set up the mapping, open the Mapping sub-tab. Use the pre-built ShipWorks mapping provided, or click ADD NEW MAPPING to upload a sample order file from ShipWorks.
Next, select the field in SalesWarp that will map to the field in your uploaded file. If you have any questions about specific fields in SalesWarp, contact your Client Success Manager. Now you are ready to set up your FTP connection.
Order File Connection
Under the Orders tab, open the Connections sub-tab. Make sure the connection is enabled. Enter the Host, Username, Password and FTP Path for the ShipWorks files on your FTP server. Choose the "Incoming" folder as your destination path. Choose the default mapping or the mapping you created in the previous step. Make sure the Connection Type is set to "File" and the Data Type is set to "CSV." Click Save Connection. Once your FTP connection is set up correctly, order files will be pushed to the Incoming folder after the Order Ship Check step in SalesWarp.
Set up SalesWarp in ShipWorks
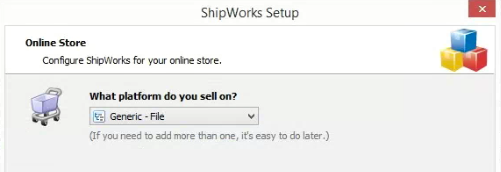
In ShipWorks, in the Manage tab, click on Stores and Add Store to add SalesWarp.

For the platform, you can choose Generic - File.
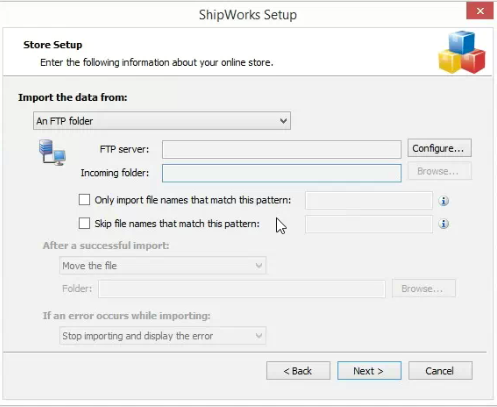
And choose CSV/Text for the type of file. Choose to import the data from An FTP Folder, and fill in your FTP server information and the path to your Incoming folder. Choose your Incoming - Archive folder as the path for where files will be moved after a successful import.
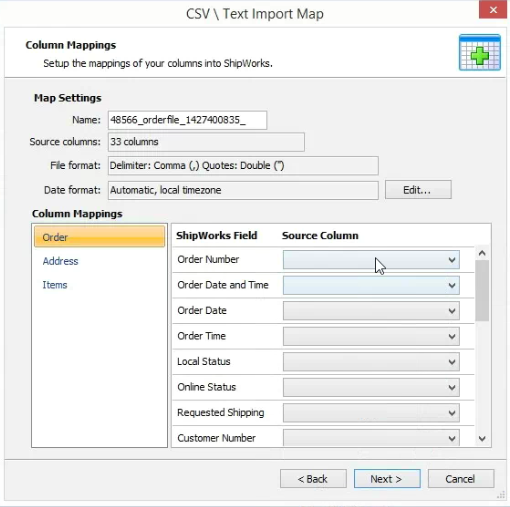
Next you will need to map the fields in the SalesWarp order file to fields in ShipWorks. Click New Map to add a new mapping, then upload the .csv sample order file from SalesWarp and match the column headers to the fields in ShipWorks.
Next, you will need to set up a template for ShipWorks to send shipment tracking numbers back to SalesWarp. In the Manage tab, click on Templates to open the templates menu.

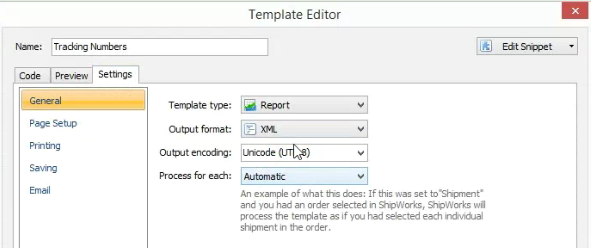
In the Reports > Exports folder, select the Tracking Numbers template. Click the Edit button and go to the Settings tab. Choose XML as the Output format.
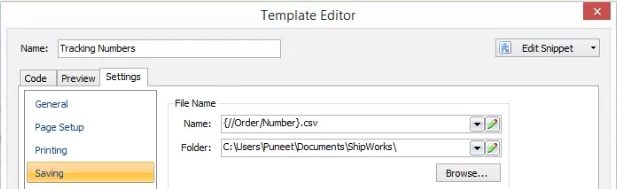
Next, go to the Saving tab and make sure the file will be saved as {//Order/Number}.csv
Be sure to save the template before moving to the next step.
Now you will set up the action that pushes the tracking numbers back to SalesWarp. In the Manage tab, click on Actions, then Add New Action.
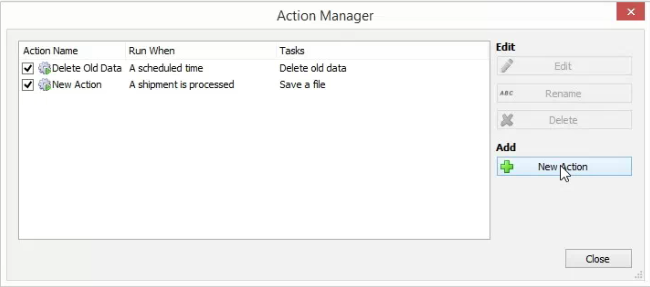
Set up an action with the following criteria:
When the following occurs: A shipment is processed
Run these tasks: Upload with FTP
With template: Tracking Numbers
And enter the FTP server/file information for your "Outgoing" file.
Pull orders into ShipWorks
To pull orders from SalesWarp into ShipWorks, click the Download button on the Home tab.
There are methods of configuring ShipWorks to automatically download orders from SalesWarp once the connection has been set up. Consult the ShipWorks training materials or ask your ShipWorks representative for help.
Tracking File Mapping
Now you're ready to map the fields in the file that ShipWorks will send to SalesWarp. Open the Warehouse from which you want to ship. Go to Warehouses and click Edit, then open the Shipping tab.

Use the dropdown to select Create new Mapping then upload a sample file from the Outgoing folder on your FTP server. Next, select the field in SalesWarp that will map to the field in your uploaded file. If you have any questions about specific fields in SalesWarp, contact your Client Engagement Manager.
Shipping File Connection
Now you are ready to set up the connection to your FTP server that will pull the ShipWorks tracking number file into SalesWarp. Under the Shipping tab, open the Connections sub-tab. Make sure the connection is enabled. Enter the Host, Username, Password and FTP Path for the ShipWorks files on your FTP server. Choose the "Outgoing" folder as your destination path. Choose the default mapping or the mapping you created in the previous step. Make sure the Connection Type is set to "File" and the Data Type is set to "CSV." Click Save Connection. Once your FTP connection is set up correctly, shipment files will import into SalesWarp from ShipWorks, and the shipped order line items will automatically be updated to the Complete status.
Comments